Coloring Pages for Procreate: A Simple Guide to Digital Coloring on iPad
By Shni Luna · · 9 min read · Digital Coloring
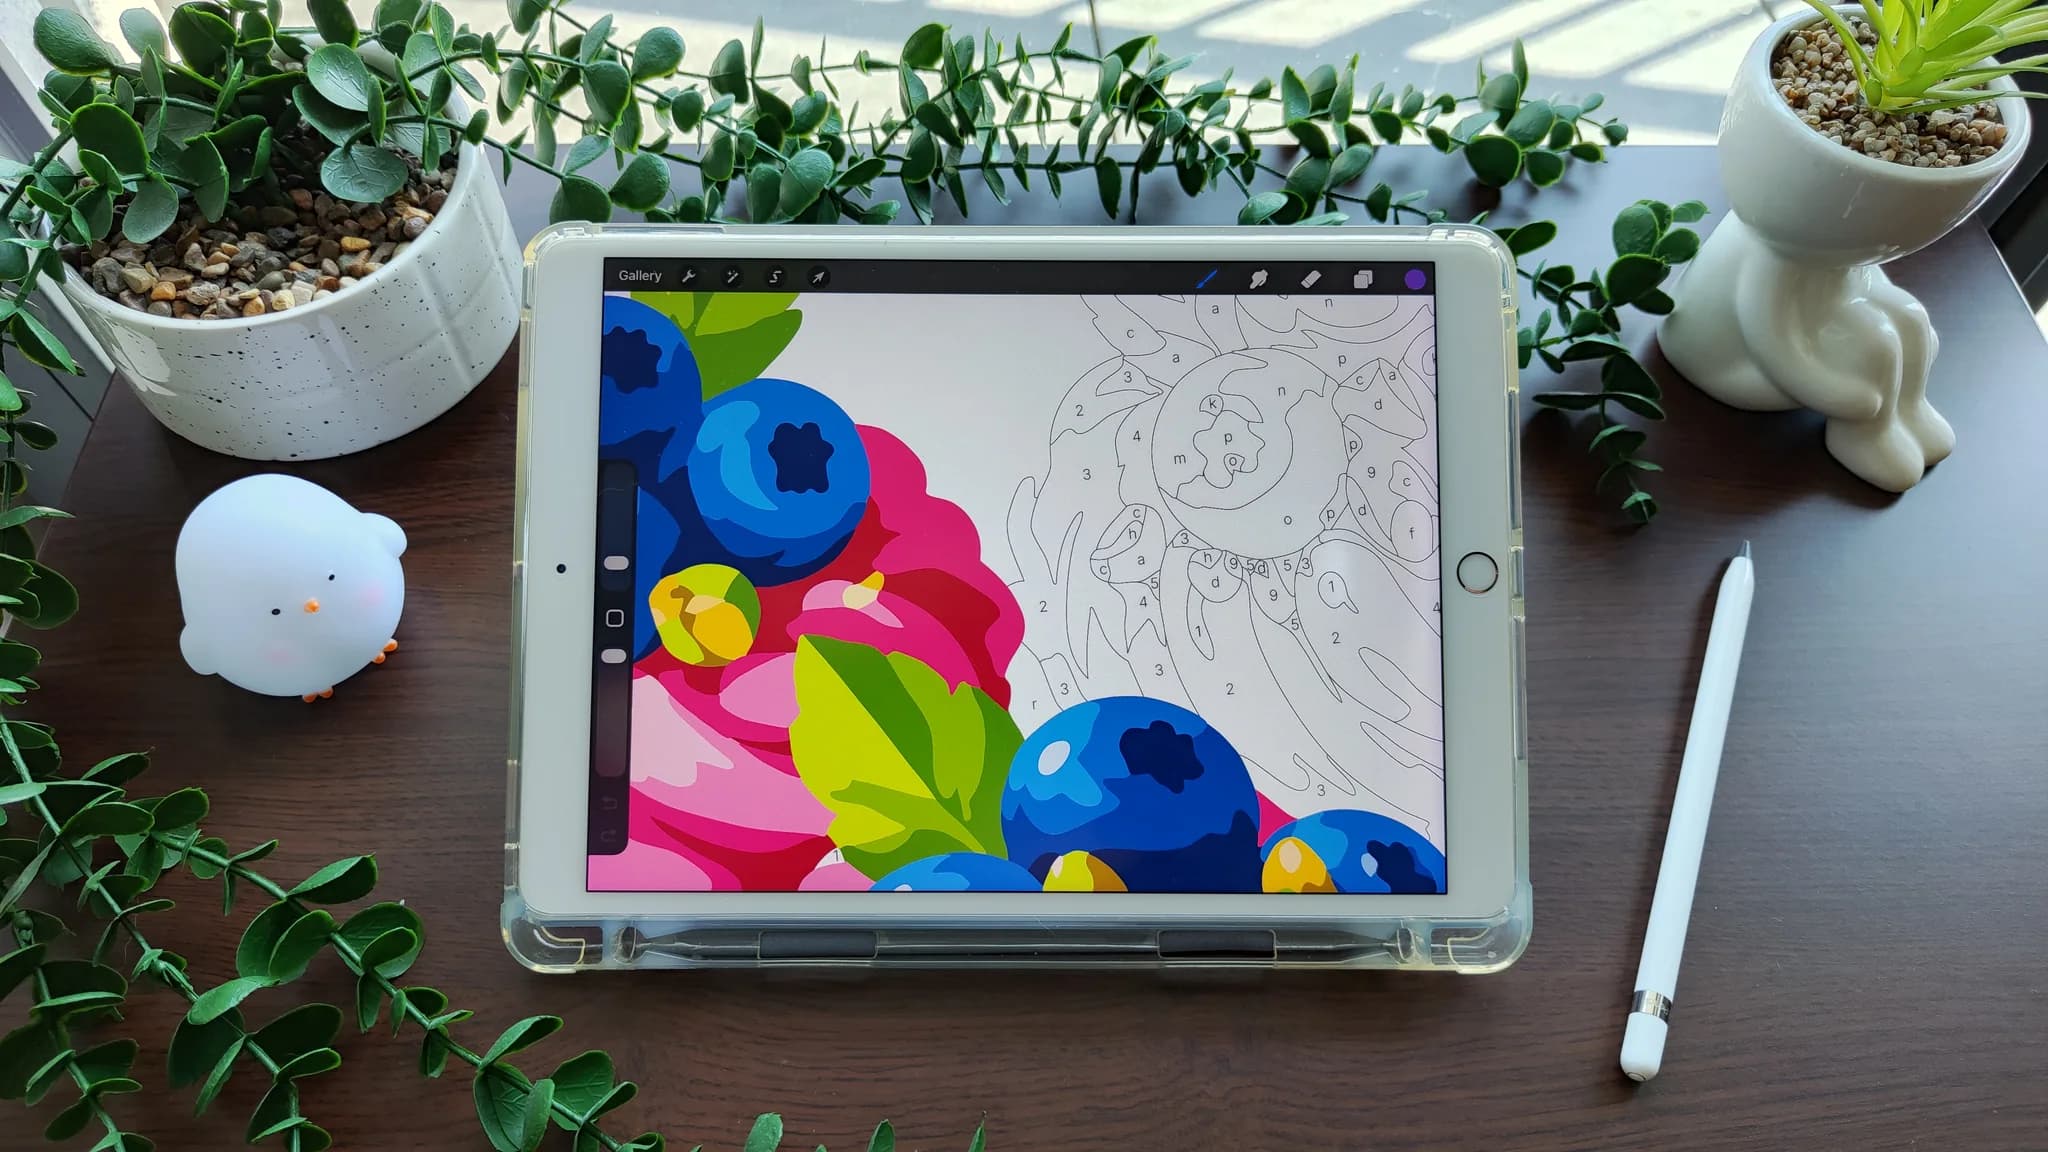
Coloring pages for Procreate are a simple way to enjoy digital coloring on your iPad.
Instead of printing a page or using physical materials, you open a digital coloring file in Procreate and color it with your Apple Pencil. You can zoom in, use layers, pick colors from a palette, fix mistakes, and save your progress as you go.
It is a calm and flexible way to color, especially if you enjoy paint-by-number pages, cozy illustrations, and creative time without pressure.
What are coloring pages for Procreate?
Coloring pages for Procreate are digital files that you can open inside the Procreate app and color on your iPad.
Most digital coloring pages are provided as image files, often in PNG format. Once imported into Procreate, the page becomes part of your canvas, and you can color it with brushes, layers, and Procreate’s color tools.
There are different types of coloring pages you can use in Procreate:
- clean line art pages
- paint-by-number pages
- color-by-number pages
- printable pages used digitally
- contour pages for free coloring
For Shni Luna pages, you can choose between guided paint-by-number files and clean contour files, depending on how much structure or freedom you want.
Can you use paint-by-number pages in Procreate?
Yes. Procreate works well for digital paint-by-number coloring.
A paint-by-number page is divided into small shapes, and each shape has a number. Every number matches a color from the included palette.
In Procreate, you can open the page, pick colors from the palette, and fill the matching areas one by one. You do not need to draw the illustration yourself or choose all the colors from scratch.
This makes paint by number in Procreate beginner-friendly, relaxing, and easy to follow.
New to this format? Read Digital Paint by Number
Why Procreate is good for digital coloring
Procreate is popular for iPad coloring because it feels smooth, visual, and flexible.
For coloring pages, the most useful features are:
- layers
- zooming
- brushes
- color picker
- ColorDrop
- undo and redo
- export options
These tools make it easier to color neatly and correct small mistakes.
You can color slowly by hand with a brush, fill larger areas more quickly, or work on separate layers so your original page stays safe.
What file type works best for Procreate coloring pages?
For Procreate coloring pages, PNG files are a good option.
A high-resolution PNG file keeps the lines and numbers clear when you zoom in. This is especially important for paint-by-number pages, where you need to see small areas and tiny numbers.
Shni Luna coloring pages are prepared as high-resolution PNG files, so they can be used for digital coloring and printing.
For Procreate, I usually recommend starting with the Numbers + Color Palette Page because the artwork and palette are visible in one file. This makes it easier to color without switching between separate references.
Which Shni Luna file should you open in Procreate?
Each Shni Luna coloring page includes several file versions. For Procreate, the best choice depends on how you want to color.
Numbers + Color Palette Page
This is the easiest option for digital paint by number.
It includes the numbered artwork and the color palette together, so you can see everything in one place.
Numbered Page
This file includes the numbers but does not include the palette at the bottom.
It works well if you prefer to keep your artwork and color palette separate.
Contour Page
This is a clean outline page without numbers.
Use this version if you want to choose your own colors or color more freely in Procreate.
Navigation Map
This is a colored reference image.
It helps you see the finished look of the illustration and understand where colors belong.
Color Palette
This is a separate palette with all colors used in the artwork.
You can use it together with the Numbered Page if you want the palette as a separate reference.
Want to understand all file types? Read How to Start Coloring
How to use coloring pages in Procreate
Here is the simple version of the process.
- Download your coloring page files.
- Open Procreate on your iPad.
- Import the PNG coloring page.
- Create a new layer for coloring.
- Pick a color from the palette.
- Color the matching areas.
- Save your progress and continue later.
If this is your first time, do not worry about doing everything perfectly. Start with one color and one small area. After a few minutes, the process becomes much easier to understand.
For a full step-by-step setup, read the Digital Coloring Guide
A simple Procreate layer setup
Layers can make digital coloring easier, especially if you want to keep the original page untouched.
A simple setup is:
- keep the original coloring page layer
- create a new layer for your colors
- add more color layers if needed
Some people like to place the line art on top and set it to Multiply, then color on layers underneath. This helps keep the lines and numbers visible.
But if you are a beginner, you do not need a complicated layer system. The most important thing is to start coloring and get comfortable with the process.
Brush or ColorDrop?
There are two common ways to color in Procreate.
Coloring with a brush
This is the easiest and most controlled method.
Choose a solid brush, keep opacity at 100%, zoom in, and color the area by hand. This works well for small details and areas where you want more control.
Using ColorDrop
ColorDrop can fill an area faster.
It can be helpful for larger closed shapes, but it may need a little adjustment. If the color spreads too far or leaves small white edges, try changing the threshold or color the area manually with a brush.
For beginners, I recommend starting with a simple brush first. Once you feel comfortable, you can try ColorDrop for faster coloring.
How to Color in Procreate tutorial
How to choose your first Procreate coloring page
For your first Procreate coloring page, choose something simple and enjoyable.
Look for:
- a design you genuinely like
- clear shapes
- not too many tiny details
- a color palette that feels pleasant
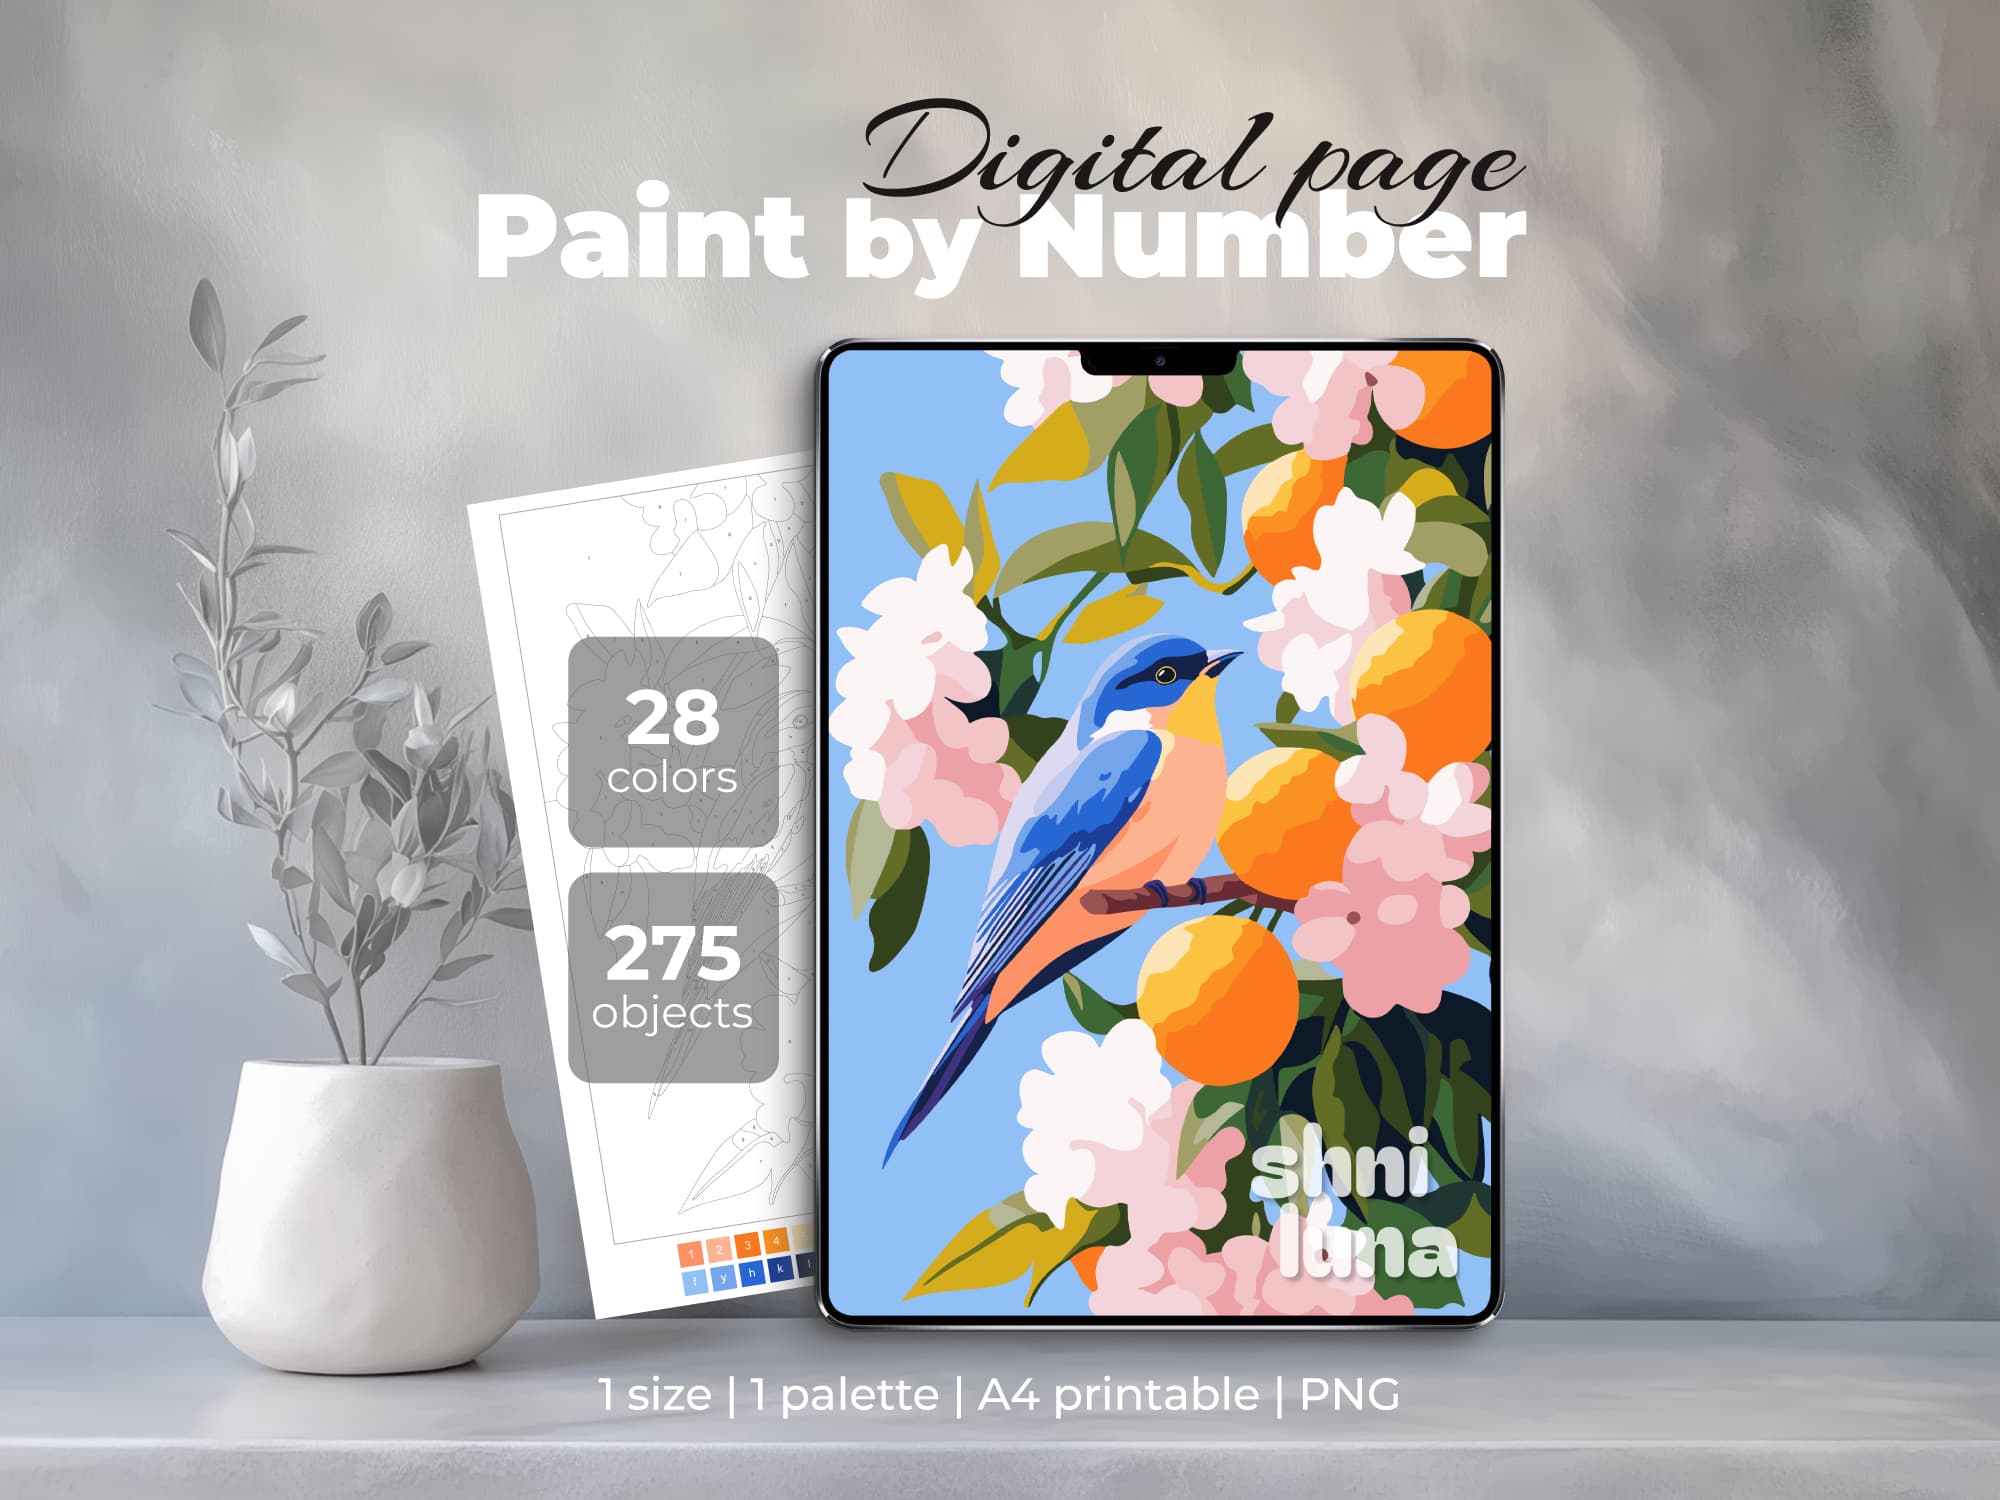
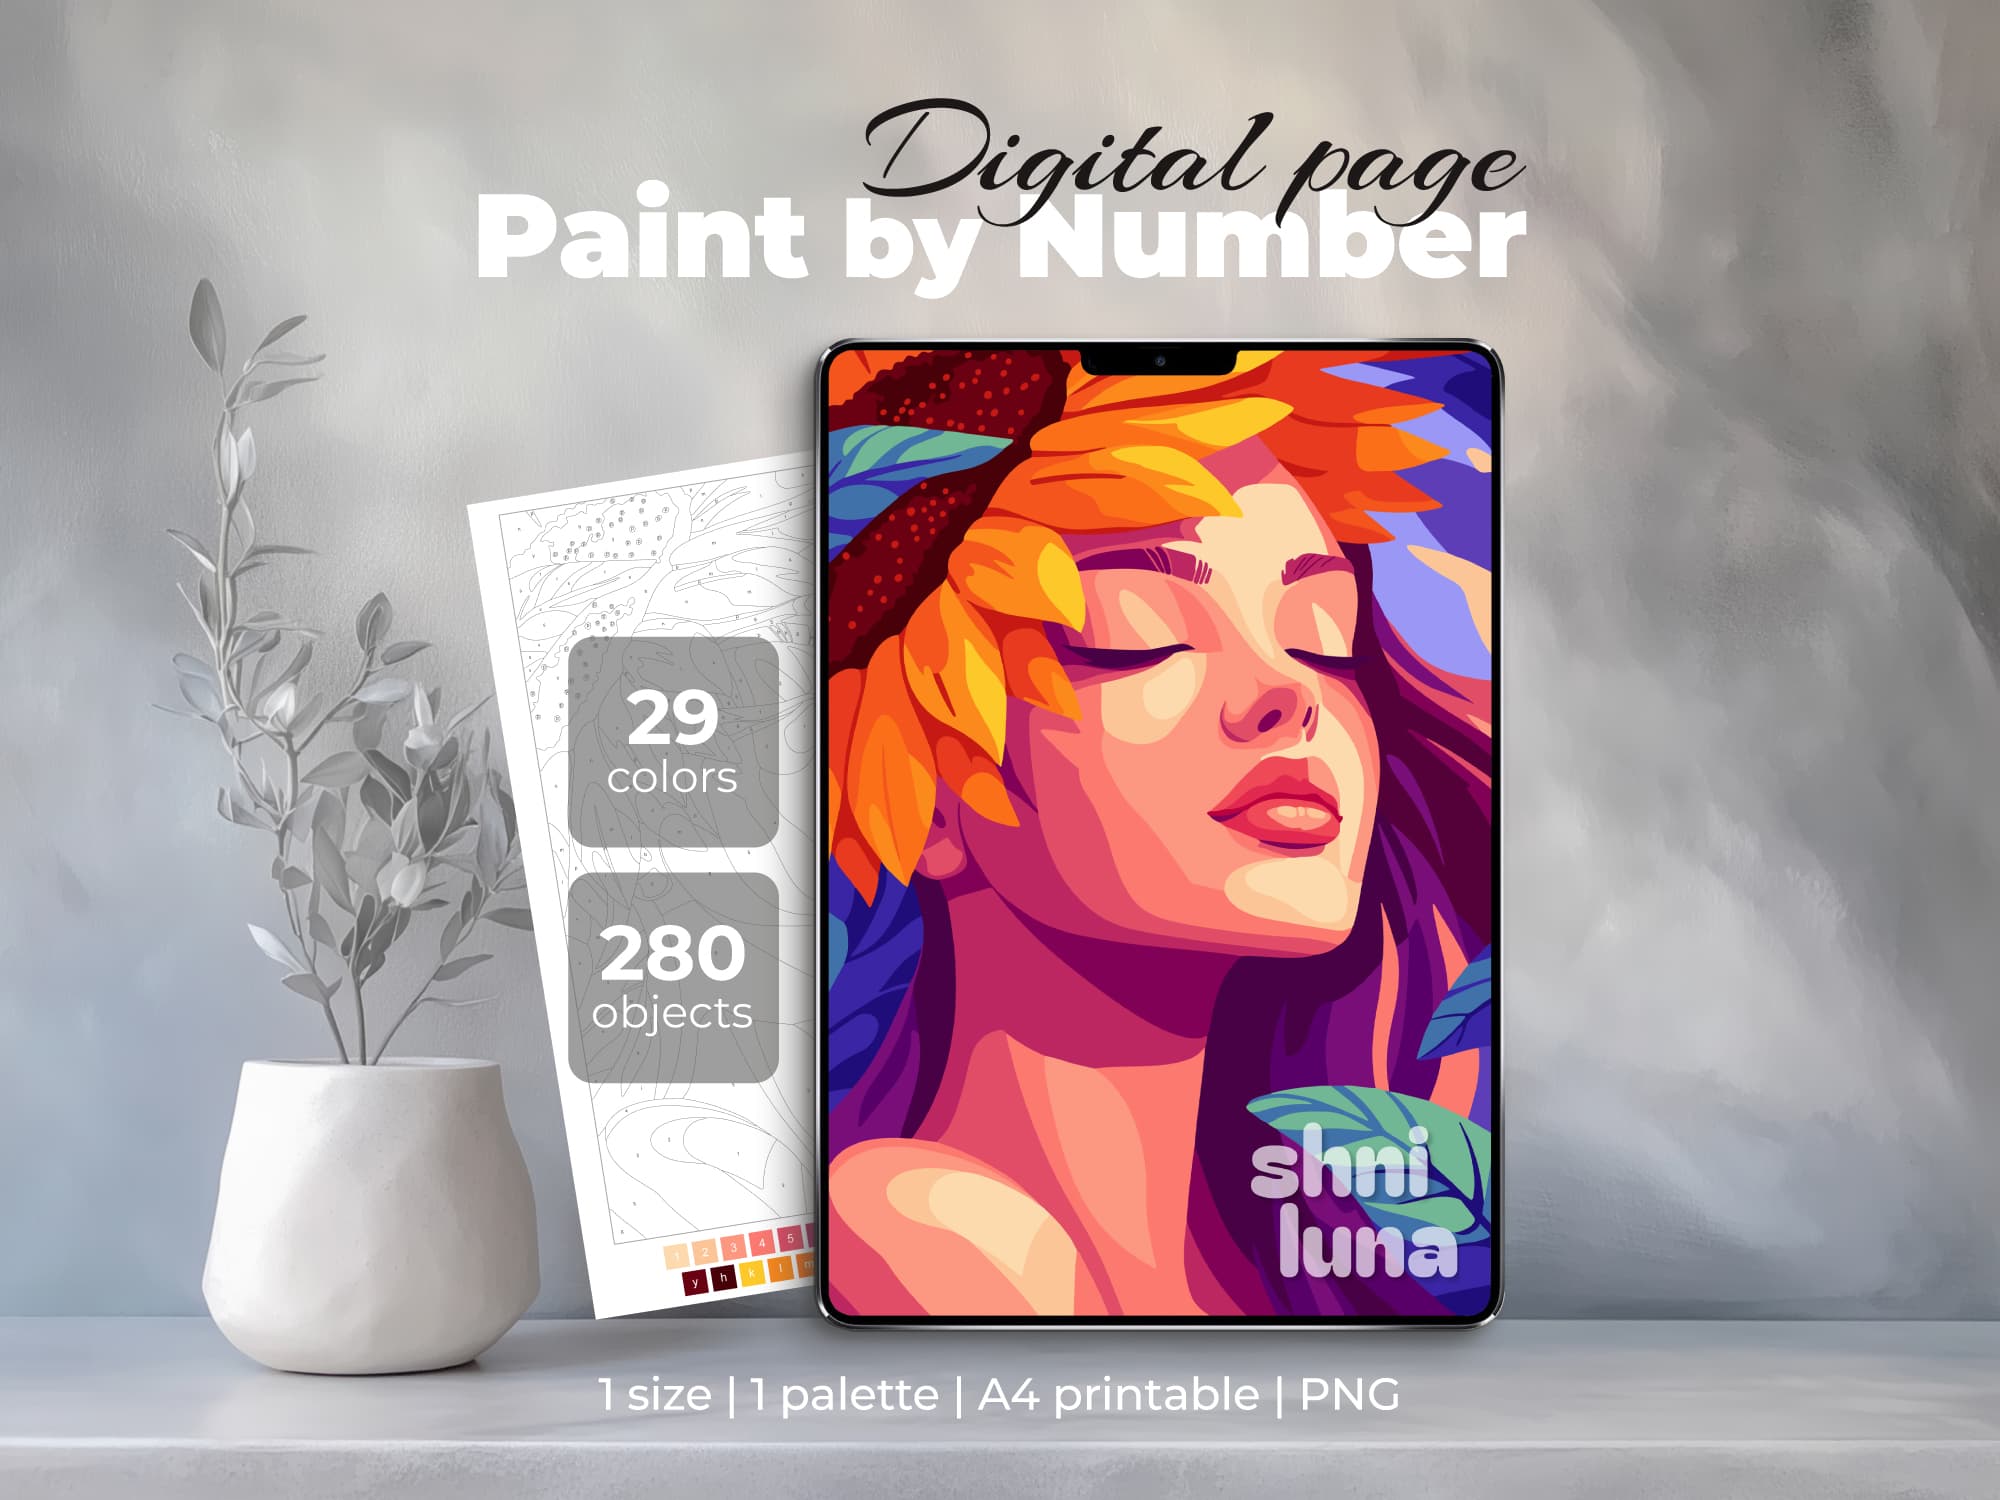
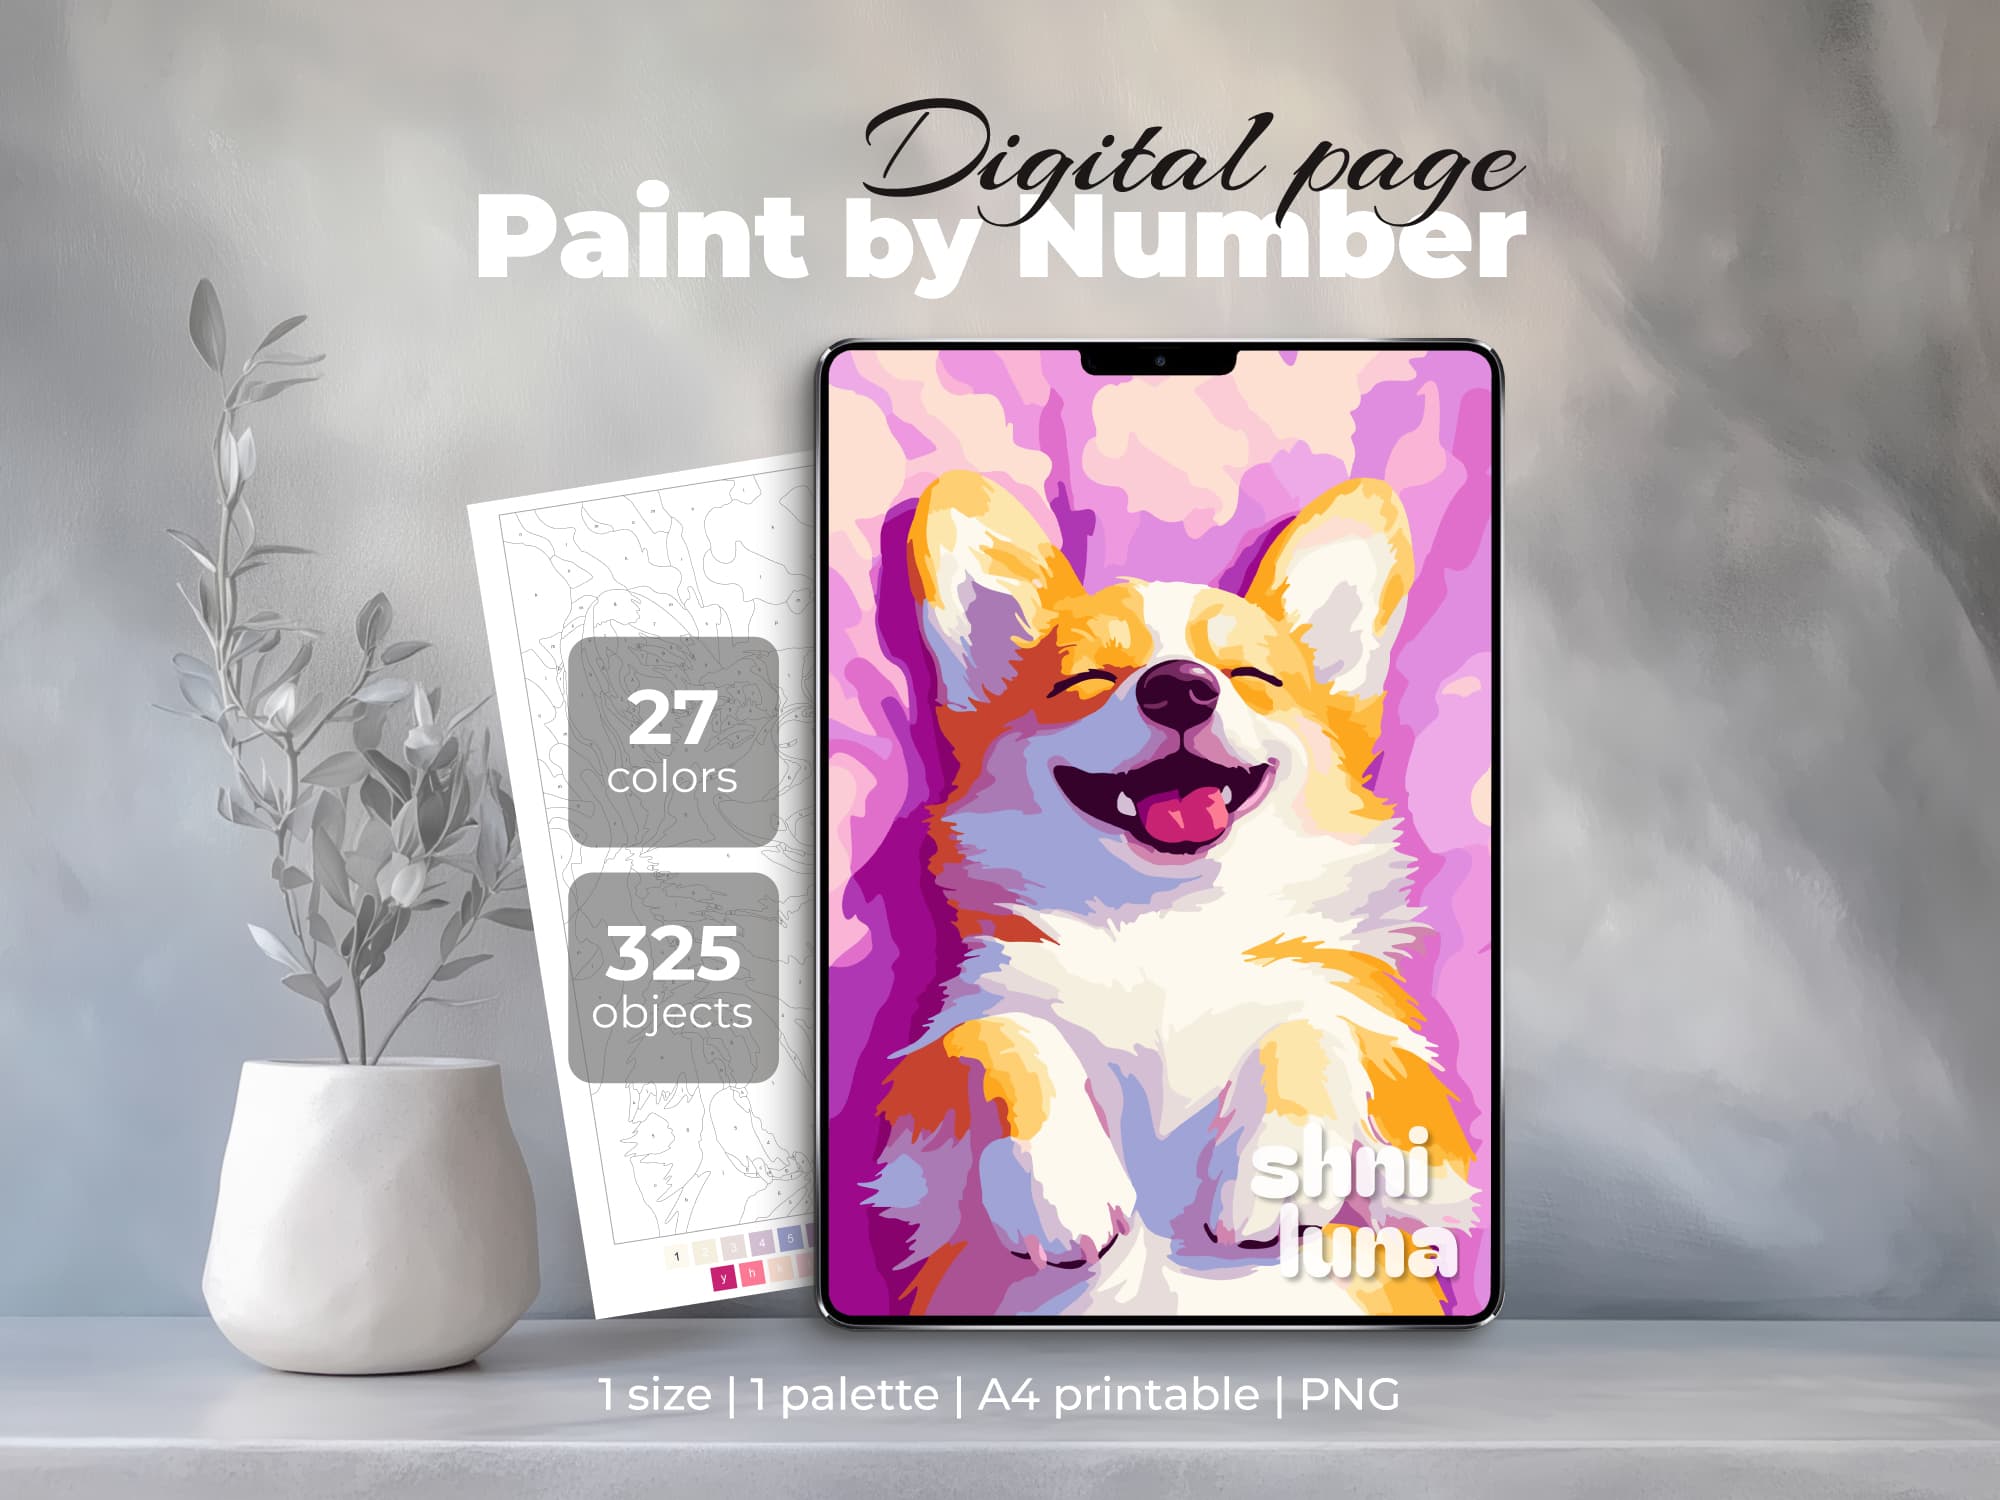
- around 200–300 objects if you are a beginner
A simpler page helps you learn the process without feeling overwhelmed. More detailed pages can be beautiful too, but they usually take more time and patience.
Beginner-friendly coloring pages
Can you print Procreate coloring pages?
Yes. If your coloring page is a high-resolution printable file, you can also print it and color on paper.
This is one of the nice things about Shni Luna pages: you can use the same design digitally in Procreate or print it for offline coloring.
For printing, the Numbered Page and Contour Page are usually the most useful versions.
Coloring in Procreate vs coloring on paper
Both options are lovely, but they feel different.
Procreate coloring is good if you want:
- easy corrections
- zoom for small details
- no physical materials
- a portable creative activity
- digital finished artwork
Paper coloring is good if you want:
- a screen-free activity
- real pencils, markers, or pens
- a physical finished page
- a more traditional coloring experience
You can choose the version that matches your mood, or try both.
Tips for coloring pages in Procreate
- Use high-resolution PNG files.
- Start with the Numbers + Color Palette Page.
- Use a solid brush without texture.
- Keep opacity at 100%.
- Zoom in for small areas.
- Use layers if you want easier corrections.
- Try ColorDrop only after you feel comfortable.
- Save your work in Procreate before exporting.
- Start with a simpler page if you are new.
Digital coloring is not about finishing quickly. It is about enjoying the small, peaceful steps of the process.
Frequently asked questions
Can I use any coloring page in Procreate?
You can use many coloring pages in Procreate if they are provided as an image file, such as PNG or JPEG. High-resolution PNG files are usually more comfortable because they stay clearer when you zoom in.
Do I need an Apple Pencil?
An Apple Pencil is very helpful, especially for small details, but the main requirement is being able to draw or fill areas comfortably in Procreate.
Are Shni Luna pages made for Procreate?
Shni Luna pages are high-resolution PNG files that can be used in Procreate and other drawing apps. They also include several file versions for digital and printable coloring.
Which file should I open first?
For digital paint by number in Procreate, I recommend starting with the Numbers + Color Palette Page. It keeps the numbered artwork and palette together in one file.
Can I use ColorDrop for paint by number?
Yes, you can use ColorDrop in some areas. For small or detailed shapes, coloring with a brush may be easier and cleaner.
Can I choose my own colors?
Yes. You can follow the included palette or use the Contour Page if you want to color freely with your own colors.
Can I print the finished Procreate artwork?
Yes. You can export your finished artwork from Procreate and print it, or you can print the original coloring page and color it on paper.
Start coloring in Procreate
Coloring pages for Procreate are a cozy way to turn your iPad into a creative space.
Choose a page, open it in Procreate, pick one color, and begin with one small area. You do not need to rush or make it perfect.
Just color at your own pace and enjoy the moment.